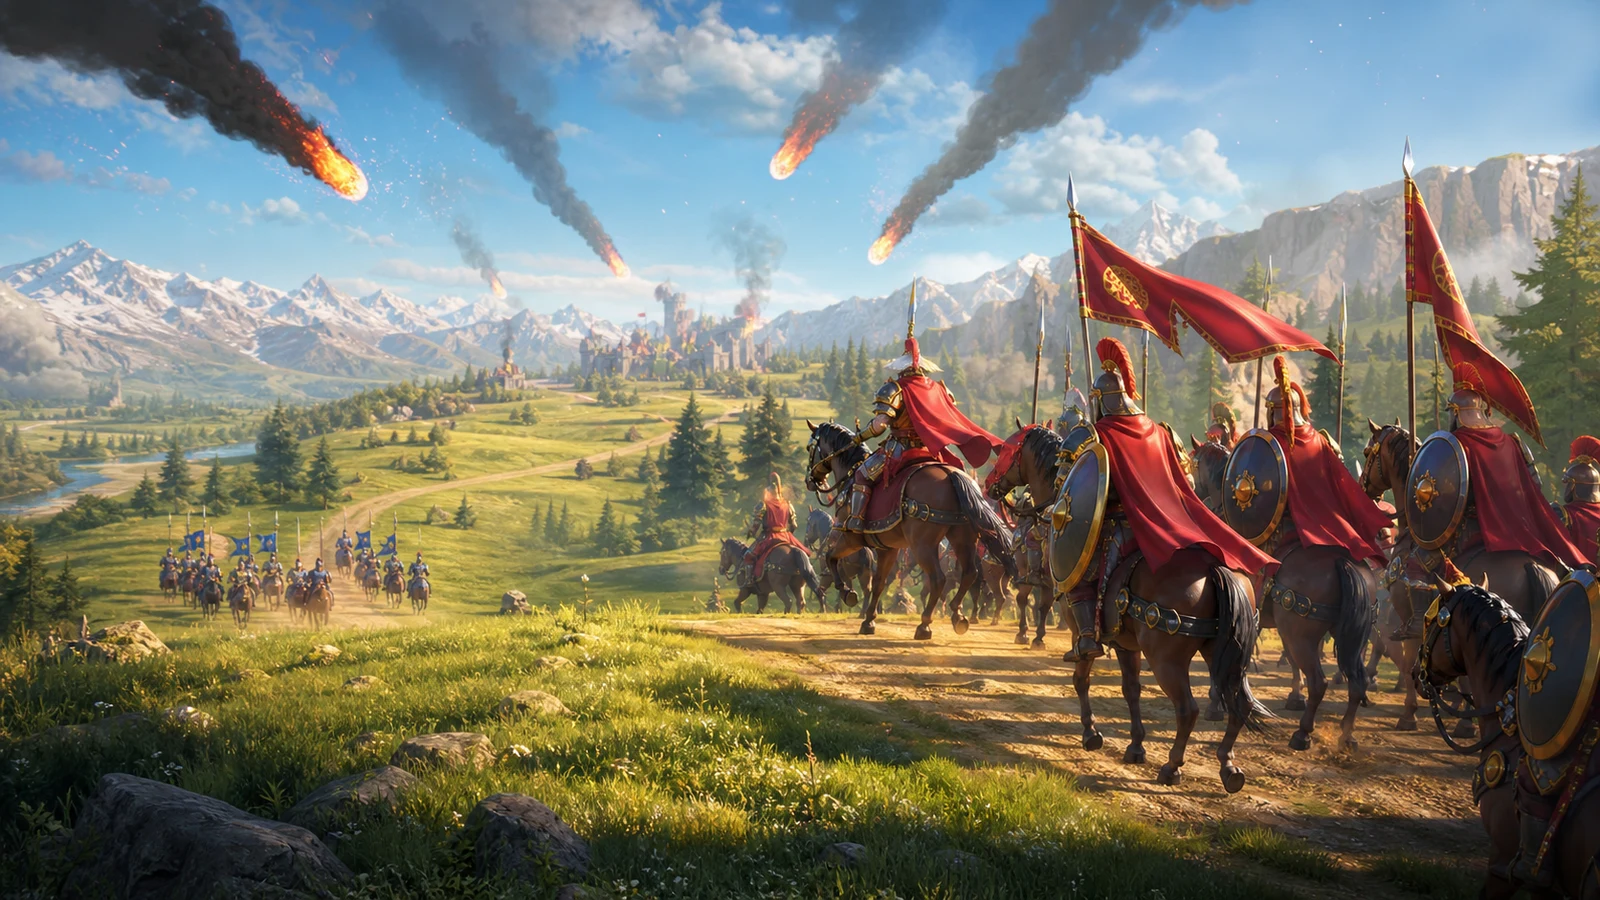
The second march is ready when it can fight without borrowing the pieces that make your first march work. If it needs half of your best equipment, the Gold Heads reserved for your primary pair, or troops you cannot keep out of the hospital, it is still a spare pairing rather than a field march.
For a low-spender, the practical default is one complete open-field march; add a second only when its commander pair, troop-type equipment, troop reserve, and healing budget are independently ready. This is not a rule that every account must stay on one march. It is a way to avoid turning one competitive march into two easy targets just because KvK2 gives you more commander choices.
One recent low-spender case—25 Gold Heads, one developing equipment set, and incomplete early commanders—shows why the same march question cannot be answered from a commander name alone. The useful details were the resources around the pair, while the replies differed on the exact commanders.
Start with what is already developed
Write down the commanders you can field now, including their exact skill levels, stars, and levels. Then separate the Gold Heads—the player shorthand for Universal Legendary Commander Sculptures—from sculptures tied to a specific commander. A commander who looks close to a useful skill target may still be expensive if the remaining upgrades depend entirely on universal sculptures.
Do the same for equipment. Count complete, coherent sets by troop type, not individual purple or legendary pieces sitting in storage. A second infantry pair does not become field-ready because you own an extra infantry helmet if the rest of its equipment would come from the primary march. Commander rankings move with equipment, armaments, formations, technology, commander investment, and the number of marches an account can actually support.
Troops are the next limit. Check how many units of the correct type can fill each march at its real capacity, how many can be lost to severe wounds before the pair becomes undersized, and whether your speedups and resources can support repeated healing. Two full marches on the first pass can become one full march and one depleted march after a hard fight. If that second march forces you to stop fielding earlier, it did not double your useful presence.
Kingdom context changes how forgiving the decision will be. In a stronger seed or a matchup with deeper native accounts and powerful migrants, an underbuilt march is easier to punish. In a lighter field, an inexpensive support or area-damage march may contribute without receiving the same pressure. Seed does not select your commander for you, but it changes the standard the second march must meet.
Give each march a job before assigning commanders
Your first march normally carries the best equipment, the troop type with the strongest technology, and the commander pair that can stay useful under focus. Its job might be durable front-line fighting, area damage from behind allied tanks, or fast cavalry pressure. The right pair depends on which of those jobs your roster can already perform.
The second march needs its own reason to exist. It may add area damage, a useful debuff, mobility, or a sturdier second body in the allied ball. "More damage" is not specific enough. If both marches need to occupy the same safe position, depend on the same secondary commander, or collapse when targeted, splitting them has created overlap rather than coverage.
A cheaper Epic or already-developed Legendary can be the correct second-march commander when that keeps your universal sculptures concentrated. The test is the resulting march, not the border color around the portrait. An inexpensive pair with finished skills and matching equipment can do its assigned job more reliably than a newly unlocked Legendary left at an awkward skill level.
There is also a useful difference between owning two pairs and taking both into every field fight. You can keep a second pair ready for quieter periods, support duties, barbarians, or situations where troop pressure is lower, while using only the primary march in the hardest open-field exchanges. March depth can change during KvK2 as equipment, troops, and healing resources change.
Use Gold Heads only after naming the target
Before spending a single universal sculpture, write the commander, the intended skill target, the pair, and the battlefield job. Then ask what the expenditure unlocks. If the answer is only that the commander becomes "better," the target is not defined well enough. You should be able to explain which skill level changes the march and why that march belongs in your KvK2 plan.
Do not divide a limited balance between two unfinished Legendary commanders merely to make the roster look broader. Finish the investment that changes your primary march, or hold the sculptures if neither option reaches a useful stopping point. Saving is an active decision when the available spend cannot produce a fieldable improvement.
Classic KvK2 planning still commonly revolves around Alexander the Great, Saladin, Yi Seong-Gye, and Charles Martel, but those names are a starting set rather than a complete 2026 pool. Version 1.0.94 moved Takeda Shingen, Cyrus the Great, Cheok Jun-gyeong, and Bertrand du Guesclin into Season 2 acquisition channels and excluded those four from Legendary Commander Swap. Version 1.0.96 then added Archimedes and Mary I to the Season 2 Wheel of Fortune.
That expanded boundary makes live availability important. Check the current Wheel of Fortune, Daily Special Offer, Legendary Tavern, Mightiest Governor, and any kingdom-specific event page that applies to your account. Do not assume that a commander named in an older KvK2 list is on your next rotation, and do not treat every commander visible in the game as usable in your season.
Apply the same caution when planning what comes after the second KvK season. Lilith's published Legendary Commander Swap design provides two swaps at a cost, transfers levels, skill levels, and star levels between eligible commanders, includes exceptions, and is intended to occur around the end of Season 2 once per character. Confirm the live rules on your account before building an investment around that event. A future swap can improve a plan with a clear before-and-after pair; it cannot rescue a plan that never checked eligibility.
When the second march earns its place
Suppose your infantry technology and equipment are clearly ahead, and your best pair already has the skill levels needed for its role. Moving equipment away from it to create another infantry march will usually lower the value of both. Keep the primary intact, use existing commanders to fill rallies or reinforce structures when appropriate, and wait until the second set and troop reserve catch up.
Now consider an account with one finished infantry set and one finished cavalry set, enough troops to refill both, and two pairs that already meet their useful skill targets without another large Gold Head split. Two marches may be reasonable because the second one is using resources that would otherwise sit idle. It also gives the player a different movement profile or battlefield job instead of copying the first march badly.
A third case is a roster with several attractive unlocks but no pair close to its intended skill target. The commander menu looks deep, yet the field options are shallow. Spending across those unlocks would make the problem harder to fix. Choose the pair that improves the strongest existing equipment and technology, or hold the sculptures until the next acquisition window clarifies the options.
Before the first major pass fight, set both proposed marches in the troop screen with their actual commanders, equipment, formation, and troop counts. If the second cannot be assembled without weakening the first, it fails the test. If both can be filled but the account cannot afford a normal fighting session's healing, take one. If both remain coherent and sustainable, take two—and be willing to return the weaker one when troop or hospital pressure changes.
The best KvK2 plan is therefore allowed to be uneven. One march can receive nearly all new commander investment while a second uses commanders and equipment the account has already finished. Gold Heads should solve a specific weakness in the march that matters most, not pay an entry fee for putting another icon on the field.
If you later decide to buy a Rise of Kingdoms pack, FlashMunk currently offers up to 22% off, protects payment information with encryption, and lets you check the latest order status in real time.