Your first Operation Bagel run is not really a test of how much you can carry. It is a test of whether you can come back with anything at all. The mode puts loot, enemies, a timer, and an extraction point on the same map, then quietly encourages you to treat every room as unfinished business.That is how a decent first run turns into a backpack on the floor.
Start with the support supply, but do not choose it as though you already know how the run will go. Look at what your current setup is missing. A weak weapon makes damage support useful; poor recovery makes medicine more valuable; a run built around avoiding fights gets more from mobility or stealth than another combat toy. The supply is there to patch the first obvious hole, not to decide your entire build before you have seen the map.
Once inside, spend the opening minutes learning where the run wants to take you. Open nearby containers, check the item types you are finding, and pay attention to how quickly your backpack starts filling. New players often read an empty slot as permission to pick up anything. In Bagel, a slot also has an opportunity cost: the harmless object you grab now may be the thing you throw away when a blueprint or upgrade material appears later.
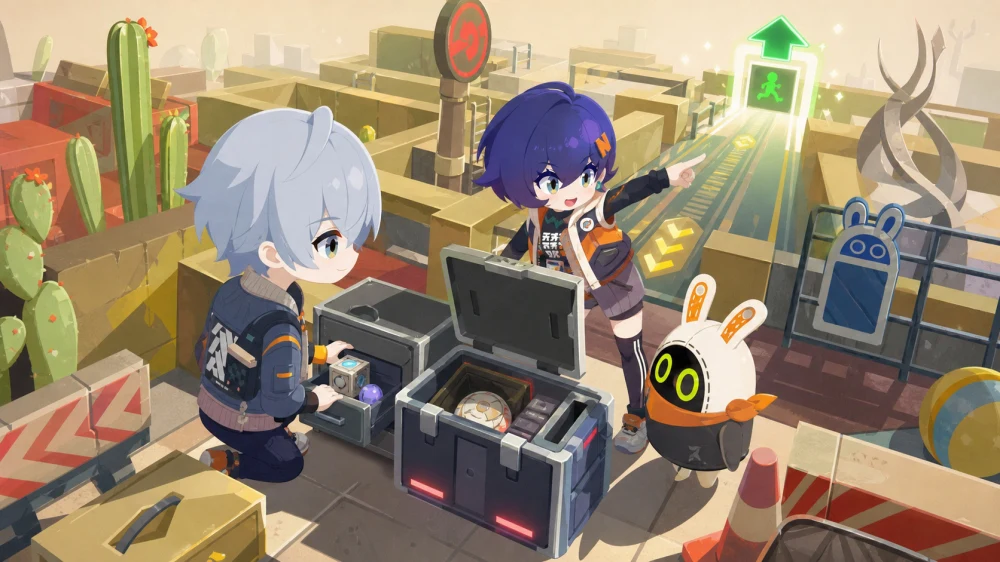
The Safe changes that calculation. Anything important enough to hurt if the run collapses belongs there as soon as you recognize it. A blueprint, scarce progression material, or unusually valuable find should not stay exposed just because you plan to extract in another ten minutes. Plans are cheap in a mode where the timer, detection, and a bad fight can all rewrite the route. Safe space is limited, so it is not a second backpack. It is insurance for the two or three items that make the run worth remembering.
Combat is where first runs lose the most time. Operation Bagel does not require you to clear every enemy between entry and extraction, and players are already split between fighting heavily and slipping past most encounters.Both approaches can work. The useful question is what a particular fight buys. An enemy blocking the only practical route, guarding a Gear box you actually need, or carrying a resource tied to your plan may be worth the damage and minutes. A patrol standing beside a corridor you can walk around is not suddenly valuable because a combat marker exists.
Detection matters for the same reason. Raising alert can turn a simple looting route into a chain of interruptions, and the cost is not limited to lost health. Every unnecessary engagement consumes the part of the timer you cannot recover. Stealth does not mean crouching through the entire map in fear. It means noticing when the game is offering a clean bypass and taking it.
About halfway through the run, stop navigating by curiosity alone. Check three things: what is protected, what still justifies staying, and how awkward the nearest extraction route looks. This is the point where a run should acquire a purpose. Maybe you already found the blueprint you wanted. Maybe the backpack contains enough Hub materials to make the trip worthwhile. Maybe the opening rooms were poor and you are still searching for one strong find. Those are different situations, and the map cannot make the decision for you.
The timer is especially misleading near the end. Ten minutes remaining does not mean ten minutes of shopping. You still need to reach an extraction anchor, survive whatever is between you and it, and wait through the extraction itself.A route that looked short on the map can get longer after detection rises or an enemy blocks the final approach. Heading toward an exit while you still feel comfortable is not wasting the run. It is how the loot becomes account progress instead of a recovery job for next time.
Leaving early also gives you better information for the second run. You learn which items appeared, which fights slowed you down, whether the support supply covered the right weakness, and how much travel time the extraction actually required. A failed full-clear attempt teaches some of that too, but it charges tuition in dropped items.
There is one reason to continue after the run is already good: you have identified a specific reward that is worth the extra risk and you still have the time, health, and space to pursue it. “The backpack is not full” is not that reason. Neither is “there is another room.” Bagel always has another thing that could make the haul prettier. The run becomes successful when what you already found reaches the Hub.
For the first few attempts, judge yourself by boring outcomes. Protect the best items. Skip fights that do not pay for themselves. Turn toward extraction before the clock becomes an emergency. A modest haul that upgrades one facility is more useful than a spectacular inventory that never leaves the Hollow.
If you already planned to add Monochrome before your next set of runs, FlashMunk currently lists Zenless Zone Zero top-ups at up to 25% off, with multiple secure payment options and real-time order tracking. Check the current price before paying in-game.